You may have found some quality shed blueprints from sites like sheddrafts.com and built a lovely garden shed. But your shed does not just need to be a place for storing gardening tools and lawnmowers.
You can transform your shed into a greenhouse and grow your food indoors. While you can cultivate plants in your garden, the weather where you live will have a significant impact on how the plants grow and yield results.
Having a greenhouse shed will allow you to grow plants all year long, even during the dead of winter. Here are some useful tips for converting your simple garden shed into a growing room.
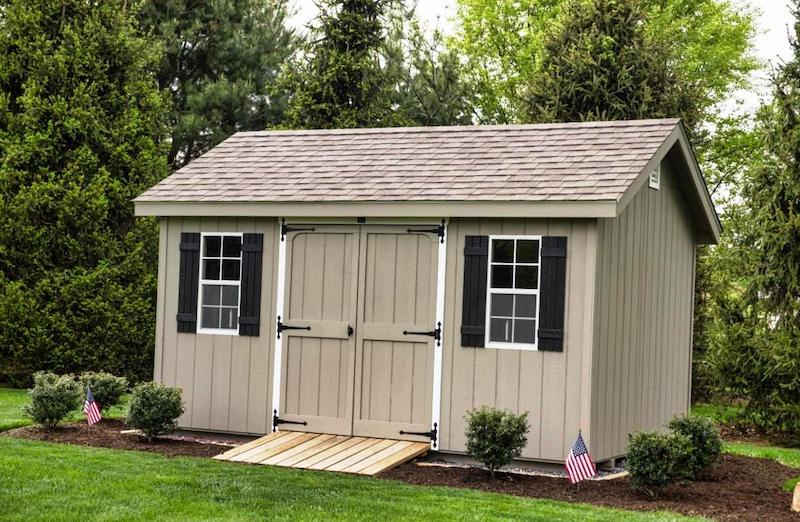
Install Ridge Vents And An Exhaust System
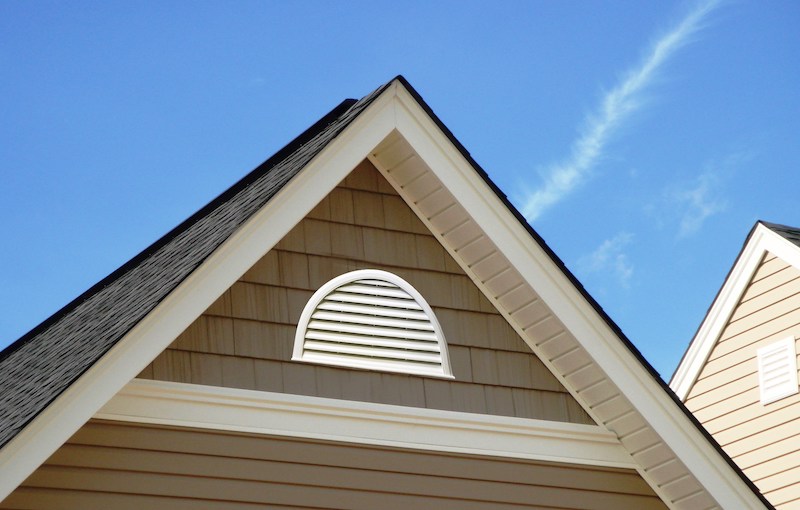
Plants need a lot of air to grow quickly and healthily. So it is essential to have a steady flow of air inside your shed. The first step is to add some ventilation in the form of gable ridge vents.
First, mark out the location of the vents on the wall using a pencil. Check that there aren’t any studs behind the position. Cut out the opening using a saw and then test fit the vents into the opening. Use 1×4 trim to create a frame around the vent and install it with galvanized nails. Seal any gaps left behind using caulk.
Find the best spot for installing the exhaust fan. Ideally, it should be at least 5 feet away from the ground. Scribe the location on the wall using a pencil, taking care that there are no framing members behind this position.
Install the shutter vent into the opening using a J channel frame and make sure the vents can open and close smoothly without any obstructions. Secure a thin frame made of 2x4s into the vent opening using pocket screws. This will set up some free space between the vents and the exhaust fan.
Attach the exhaust fan and press it against the shutters to check that the vents can still open freely. Now fasten the exhaust fan into place using 2-inch screws.
Open the vents and turn on the exhaust fan to check that the air flows correctly.
Build A Large Skylight Into The Roof
Your plants will need a lot of natural sunlight on a daily basis to help them grow. Installing a skylight is the quickest solution to allow the maximum amount of natural light into your shed.
First, mark out the position on the roof where you would like to install the skylight. Choose a location such that it will cover the minimum number of rafters.
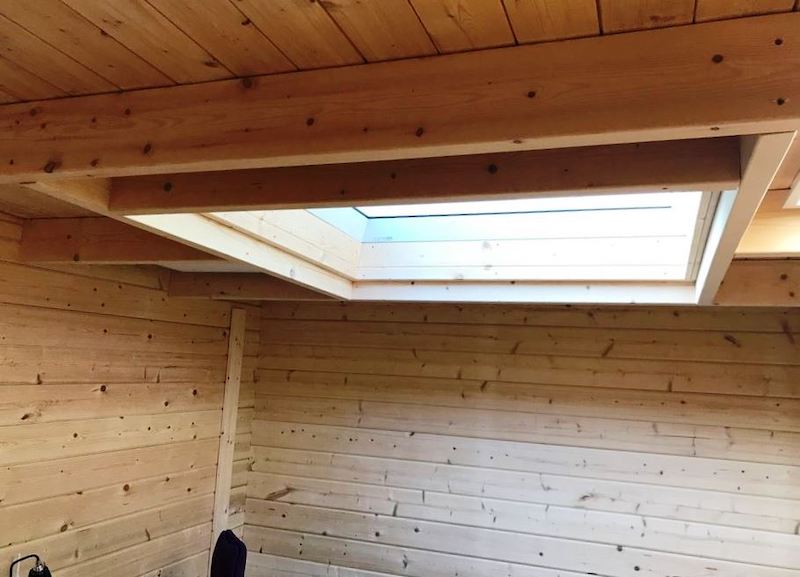
Drill a hole at the center of the location where you want to install the skylight, and then cut out the opening using a jigsaw or circular saw. Use some header joists to reinforce the rafters you just sawed off.
Cut out the shingles and roofing materials on all four sides around the opening to a distance of about three inches. Now install the skylight into position and secure it to the roof with screws.
Attach strips of roofing paper around the perimeter of the skylight. Then install flashing around the skylight such that it sits over the shingles. Finally, secure the flashing to the roof with nails. Fasten an underlayment along the edges of the skylight to create a waterproof seal.
Change The Shed Doors And Windows To Plexiglass
Your plants will need a lot of light to grow, so your shed must be able to gather as much sunlight as possible during the summer months. Most sheds have wooden doors and windows which need to be kept open for the light to pass through. This may not always be feasible.
So a simple solution for this is to replace your doors and windows with plexiglass panels or acrylic sheets. Both acrylic and plexiglass materials are highly durable and allow most of the light to pass through.
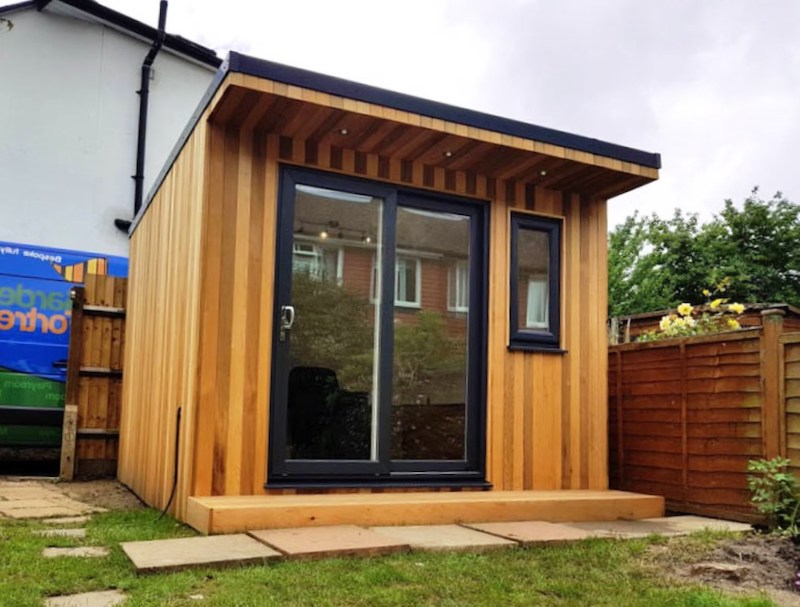
To replace your existing windows, use a screwdriver to unscrew the glazing beads and then remove the window out of its frame. Then apply glazing tape along the perimeter of the frame to create a tight seal. Install the glass panels into the frame by securing the beads back again.
Replace your existing shed doors with a sliding glass door. First, remove the hinges of the existing door and take them out. To install the top track of the sliding door mechanism, rip out a piece of the upper 2×4 and attach the track to it using lag screws. Then fasten the bottom track to the shed floor using wood screws. Carefully slide the doors into the tracks.
Set Up Electric Grow Lights and Heating
Since we want to grow food in our shed even during the cold and dark winter months, we need to set up electric glow lights and a heating system.
Grow lights will allow you to cultivate any plant indoors, irrespective of how much sunlight is available. There are three major kinds of grow lights available in the market: fluorescent, low-power LED, and high-power LED.
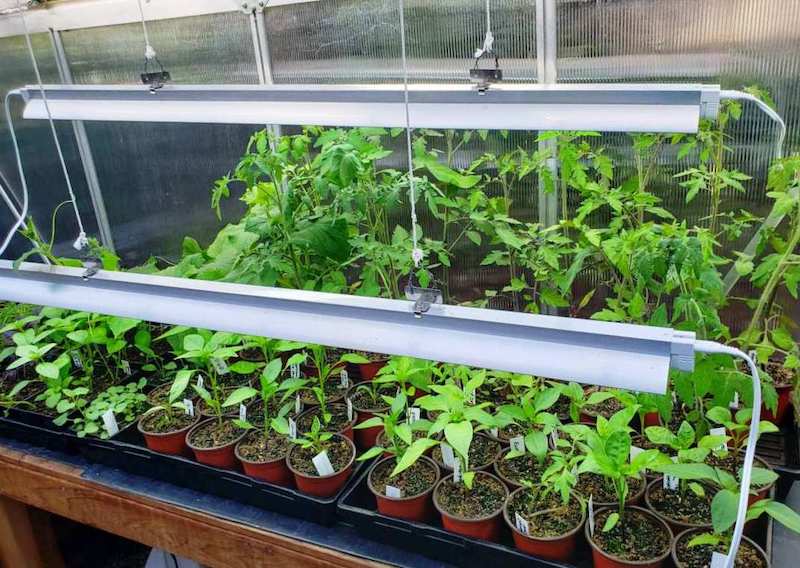
As we would be growing edible plants like tomatoes, lettuce, radishes, and spinach which need a lot of sunlight, it is essential to use high-power LED grow lights to get maximum plant yield.
There is a simple way to install the grow light as close to the plants as possible. First, secure an adjustable heavy-duty shelf on the wall closest to the plants, and then hang the lights from screw hooks fastened to the lower part of the shelf. This will also allow you to adjust the height of the light as needed in the future.
To heat up your shed, you can use a solar heater or an electric radiator. The solar heater will collect sunlight during the day and heat your shed during the nighttime. In comparison, you can keep the electric radiator running all day long at a low setting. Check that your shed is properly insulated to prevent any leakage of heat.
Install Floating Shelves And Wall Hooks
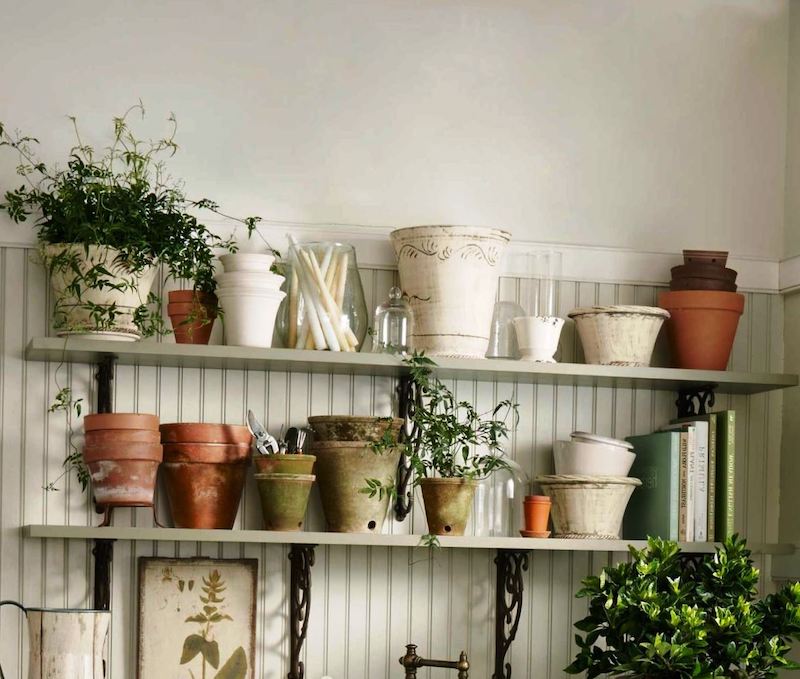
If you put all the tools and equipment you need for planting seeds and raising them into saplings on your shed floor, you will quickly run out of space. Hence it is critical to make complete use of all the available space inside your shed.
So you should set up floating shelves on the walls of your shed. This will give you extra room to put your flower pots, seed trays, compost, soil, and other gardening equipment.
Secure some aluminum hooks to the rafters and use them for hanging your frequently used gardening gear like gloves, hoses, shovels, and rakes. You can also hang watering cans and seed packets from these hooks or use them for hanging baskets containing growing plants.
Get A Potting Bench And Some Stackable Plastic Tubs
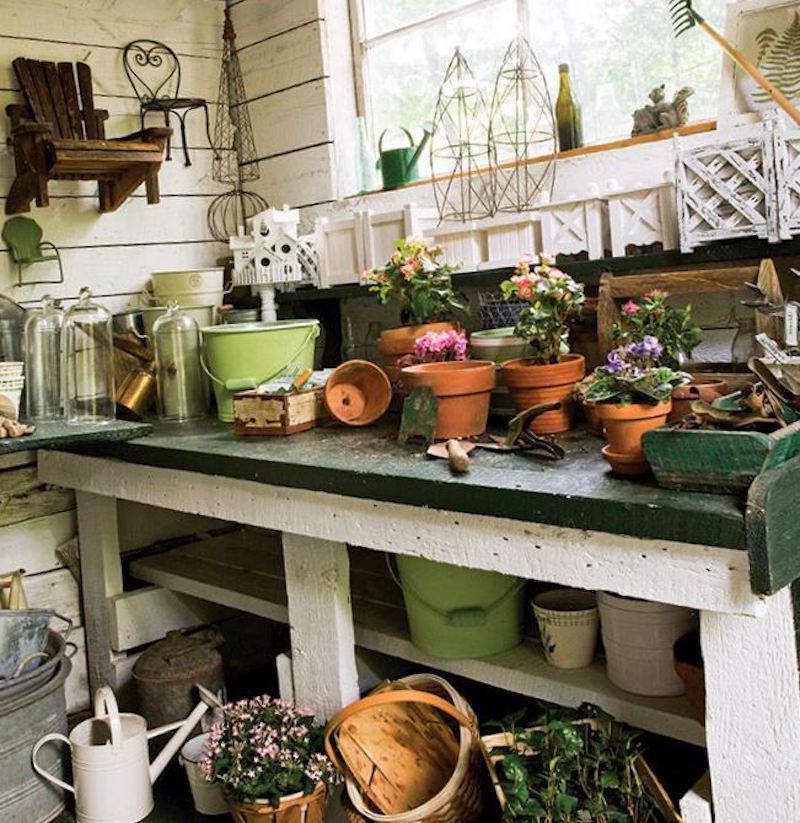
You must have a dedicated space in your shed to work on your plants. Having a portable potting bench will give you a workplace for doing your frequent gardening activities like potting plants and starting seeds without having to bend over.
If you want to save some space, then you can get a foldable potting bench that gets neatly tucked away into a wall when you are finished working.
Your garden shed can quickly become disorganized if you do not keep track of all your items regularly. Having a group of stackable plastic storage tubs makes it easy to organize frequently used items like seeds and compost bags.
Add A Green Roof To Your Shed
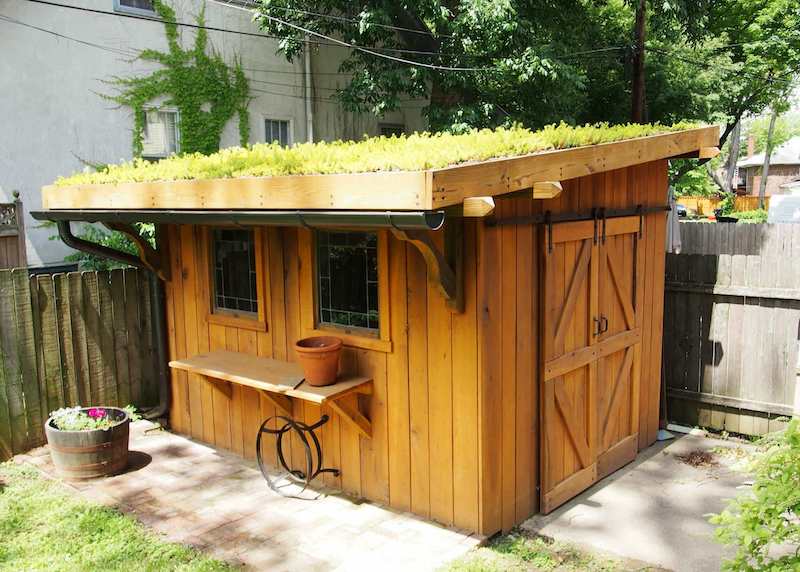
An often overlooked part of the garden shed is its roof. A green roof allows you to make use of your building’s roof for growing herbs and other shallow-rooted plants like strawberries and kale.
A green roof consists of many layers, including a waterproof roof barrier that protects the underlying roof from water. Then there is a drainage layer, followed by a water retention layer, which is covered with the growing medium and the plant layer.
If the pitch of your roof is more than 20 degrees, then it is recommended to split the green roof into multiple compartments to prevent the soil from washing away during rains. Green roofs are not recommended for slopes with a pitch greater than 30 degrees.
The first step to installing a green roof is to set up a perimeter frame around the roof that will hold all layers in place and prevent them from sliding. You can use pressure-treated 2×4 timber boards to build this framework.
Next, install the waterproof layer that prevents leakage and water damage. The simplest option is to use builders plastic or a pond liner. Fasten this layer over the roof such that no part of the sheet is punctured. Now place a plastic honeycomb layer to allow for drainage. Next comes the filter sheet that will hold the growing medium and prevent it from choking the drainage layer. Next, lay down the growing medium in a 3 to 6-inch thick layer.
Finally, plant your cuttings and seedlings in the growing medium. Make sure to water the plants frequently during hot weather, especially if you’re raising salad plants and herbs.
A green roof is not just a practical way to cultivate edible plants, but it also improves the aesthetic beauty of your shed.



![10 common plants you can turn into flour [Part I] 28 shutterstock 374664940 edited](https://modernsurvivalknowledge.com/wp-content/uploads/2024/04/shutterstock_374664940_edited-796x445.jpg)
![10 common plants you can turn into flour [Part II] 30 shutterstock 376265131 edited](https://modernsurvivalknowledge.com/wp-content/uploads/2024/04/shutterstock_376265131_edited-796x445.jpg)
